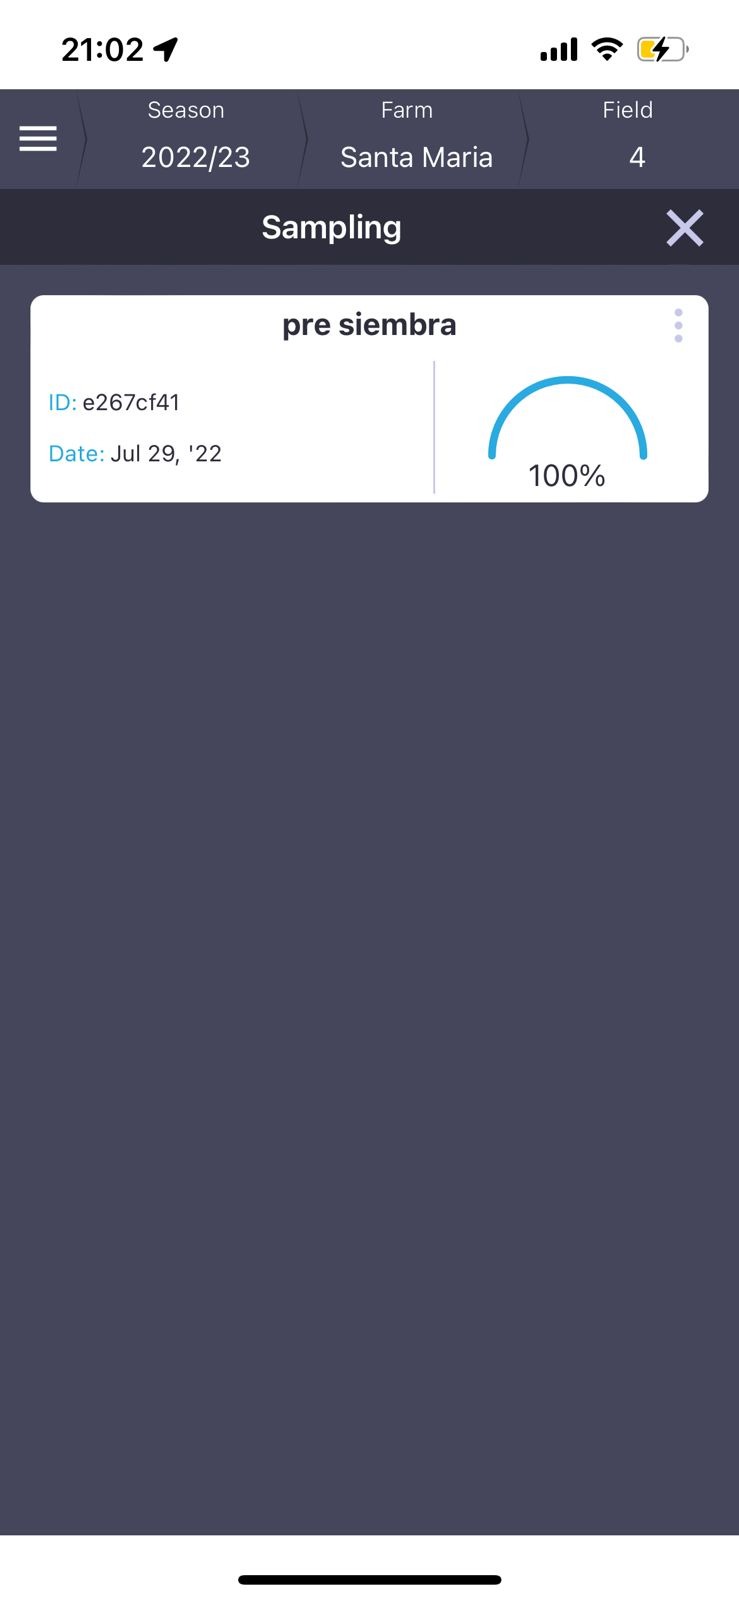
The following describes the data collection of the “Sampling” feature in the Auravant mobile App.
First Step
Once the sample has been generated from the platform ( Link to the sample upload – web), select the farm and field where it was uploaded, and enter the “Samples” feature found in the side menu.
When you open the list of samples of that field you will be able to see:
The name of the sample
Sample ID
Percentage of progress

Second Step
Once the sampling is selected, we will enter the map and the points created on the platform.
The sampler will be able to upload data to these points in two ways:
GPS activated: you will walk towards the marked points and automatically recognize that you are in position. There, a button will be enabled to load data to the point.
GPS Disabled: by selecting each point, it will enter the data upload.
Create point: if the user wishes and believes it convenient, he/she can create a point and load data.
Third Step
When you enter the point, two types of options will be displayed:
New analysis group: it is a grouping where the analyses previously generated on the web will be loaded (or in case you want to create a new one for that particular group, you can do it). The new analysis group will provide the following data:
– Names of the analyses to be collected for that group (e.g. 0-20cm and 20-40cm).
– Sample identification: identifies the sample of each analysis group. In case you need to upload data to the variables included, you can do so.
Group points to an existing group: when composite sampling is required, points can be grouped to an already created group (Subsamples). This means that the values of the analysis variables of all points belonging to the same group will be the same.
The user can complete as many points as he/she wishes. If all the points are not completed, they can be deleted from the application or the sampling can be stopped from the web.
If you want to know how to load variable information and create a map from the web platform, click here.
“
