The maps created with the yield monitors or yields of the harvesters, altimetry maps or electrical conductivity, are a representative layer of the behavior of the environments. When creating a setting, it is usually a good option to use them and combine them with satellite indexes.
The Auravant platform reads different file formats depending on the map being loaded (Shapefile, .CSV, .GEOTIFF, .XLS, .XLSX, and TXT).
Yield maps are read in SHP format. If you have them “raw”, that is, how they come out of the machine’s performance monitor and you don’t know how to transform it, you can send it to us at support@auravant.com and we will help you.
Once you have the map in the required format, you have to follow these steps to download it:
Select the Field and the corresponding Lot with the layer to be uploaded (red box).
In the satellite image selection bar, click on the load layers logo (blue box).
I chose the corresponding format with the layer that you are going to upload.
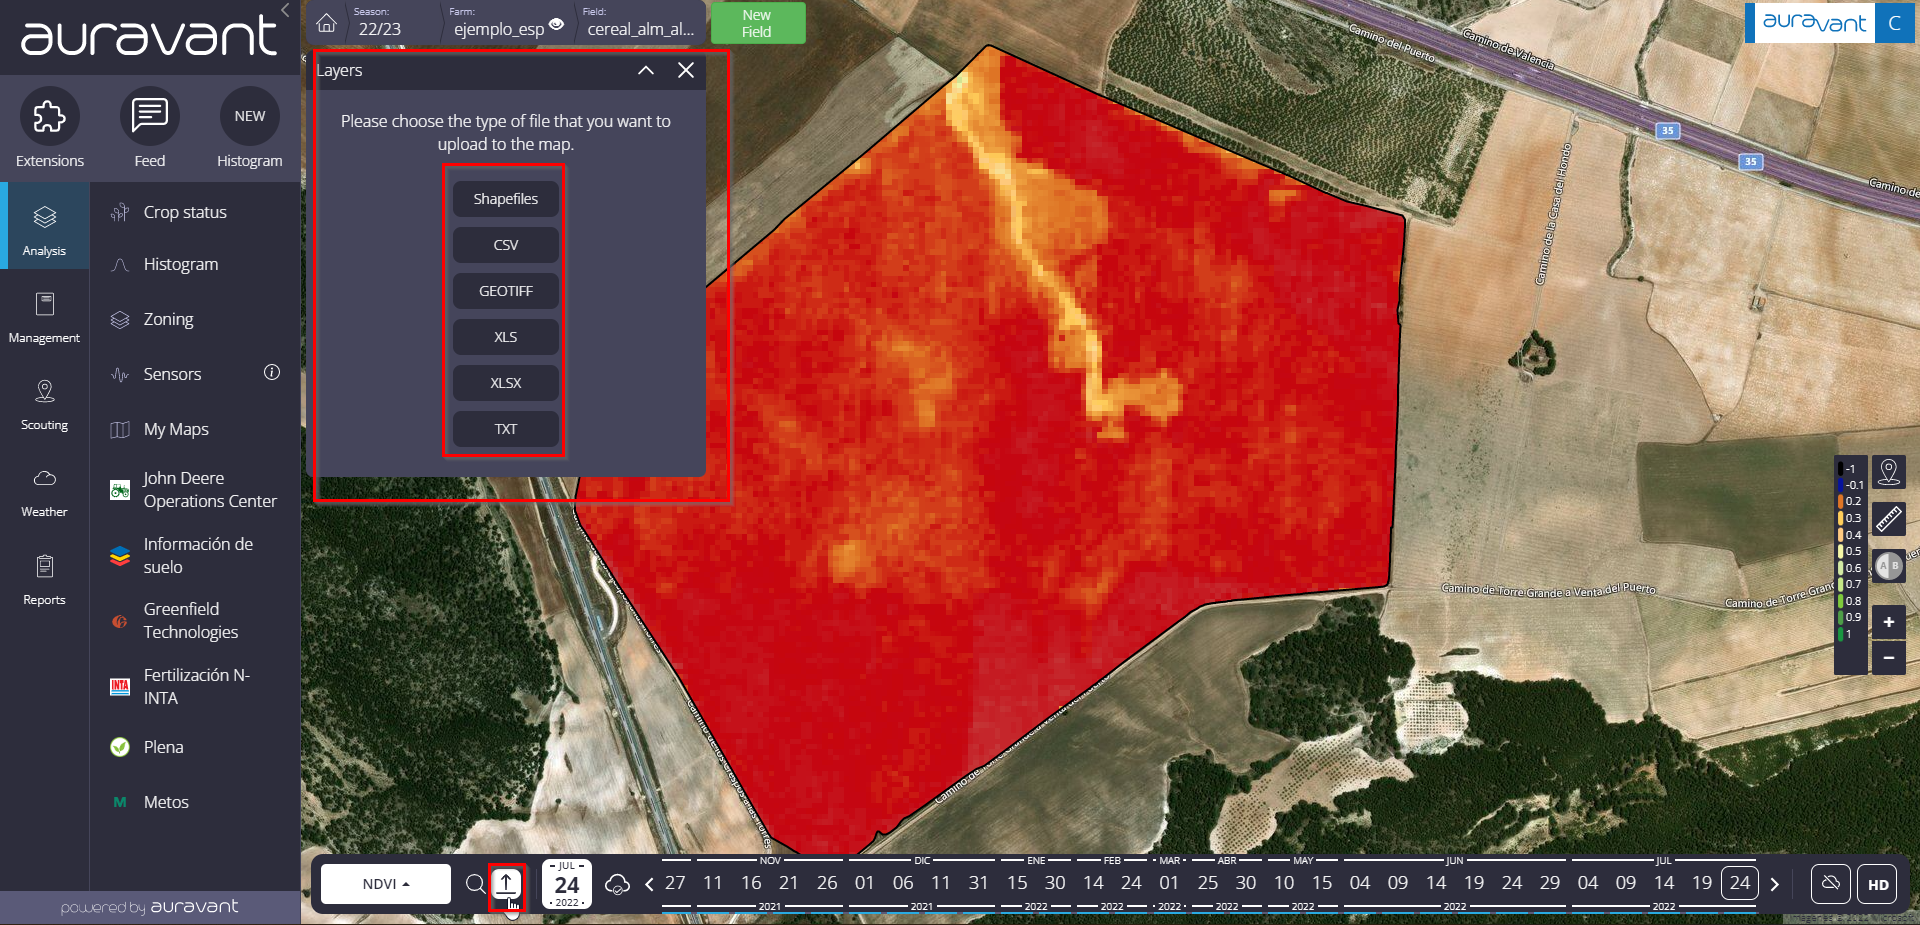
For example, in the case of a performance map we will select Shapefile (SHP):
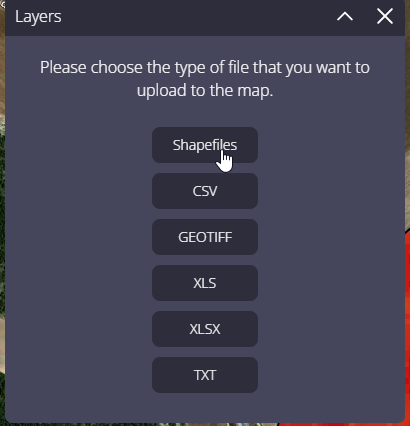
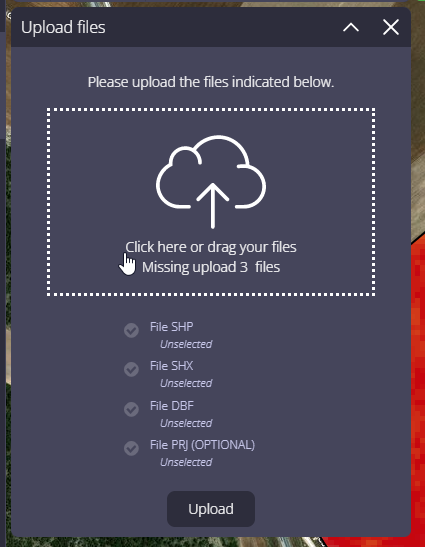
4. Upload the files that make up the map for the platform to process. In this case, the platform requests at least THREE mandatory files plus an optional one (.prj). The set of all (SHP, SHX, DBF, PRJ) make up the Shapefile file.
5. To select them, drag the files or look where it says “click here”. To upload all three files at the same time you must hold down the ‘Ctrl’ key while clicking on the files.
6. Later, by clicking on “Upload”, the different layers will start to load. This process may take several minutes depending on the size of the file. If it takes more than 5 minutes, the map may need a “data cleaning” that we are not interested in graphing. In that case, you can send the map to support@auravant.com and we will do it for you.
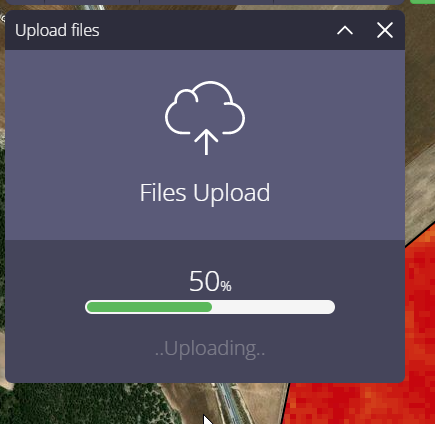
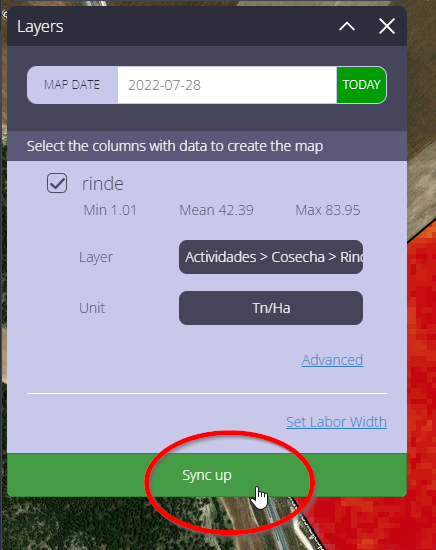
7. Once the map has been processed, indicate the date on which the task was executed and the attribute table column that the system must read to generate the map raster.
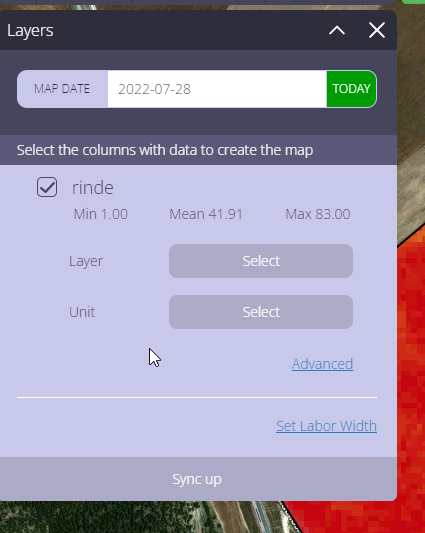
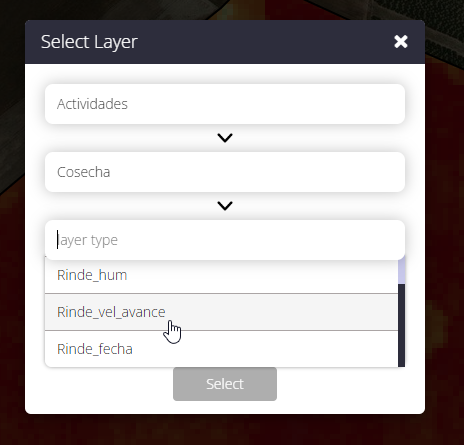
8. Indicate which group of layers it belongs to (soil, activities, images or economics). The type of layer, in the case of this example, would be activities, harvest, and yield.
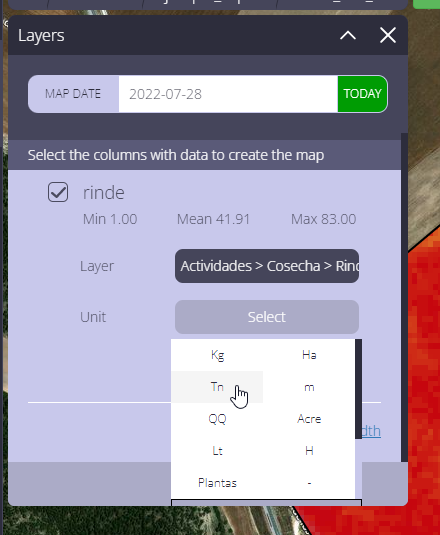
9. Select the unit in which our map data is. In this case, it would be tons per hectare.
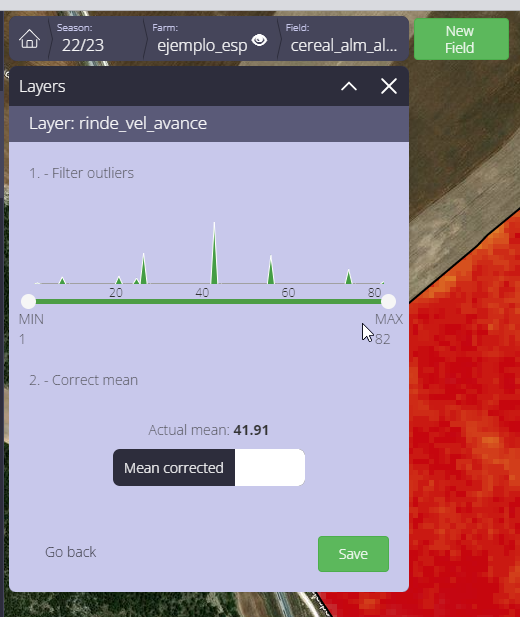
10. Set the option to discard the highs and lows in the “ADVANCED” option, if necessary.
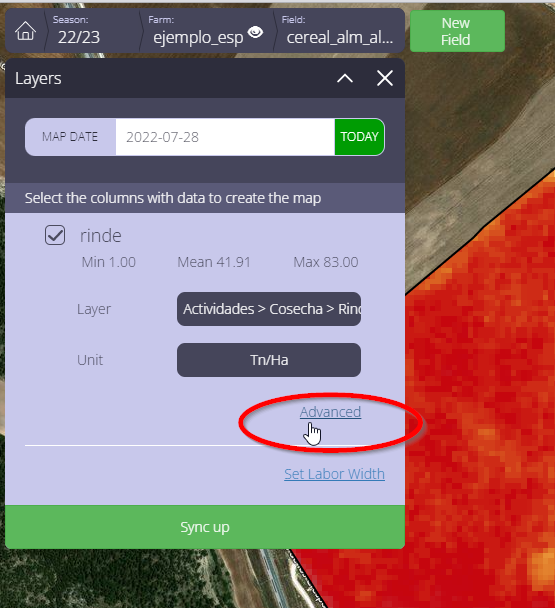
This histogram graph will allow us to eliminate the outliner points of the map that can be caused by errors, such as advance overlap or plate failures that can sense values higher than normal. By moving the MIN and MAX points we can exclude them from the graph.
There is the possibility of linking the work and that it be registered in activities, on the date that we load at the beginning.
In turn, we can correct the mean of the field.
11. Finally, select SYNCHRONIZE so that our information layer is loaded.
At the end, the platform will present the map in the index section with the date they have uploaded.
If you have questions or queries, write to us at support@auravant.com and we will show you step by step how to load your first map.
“
